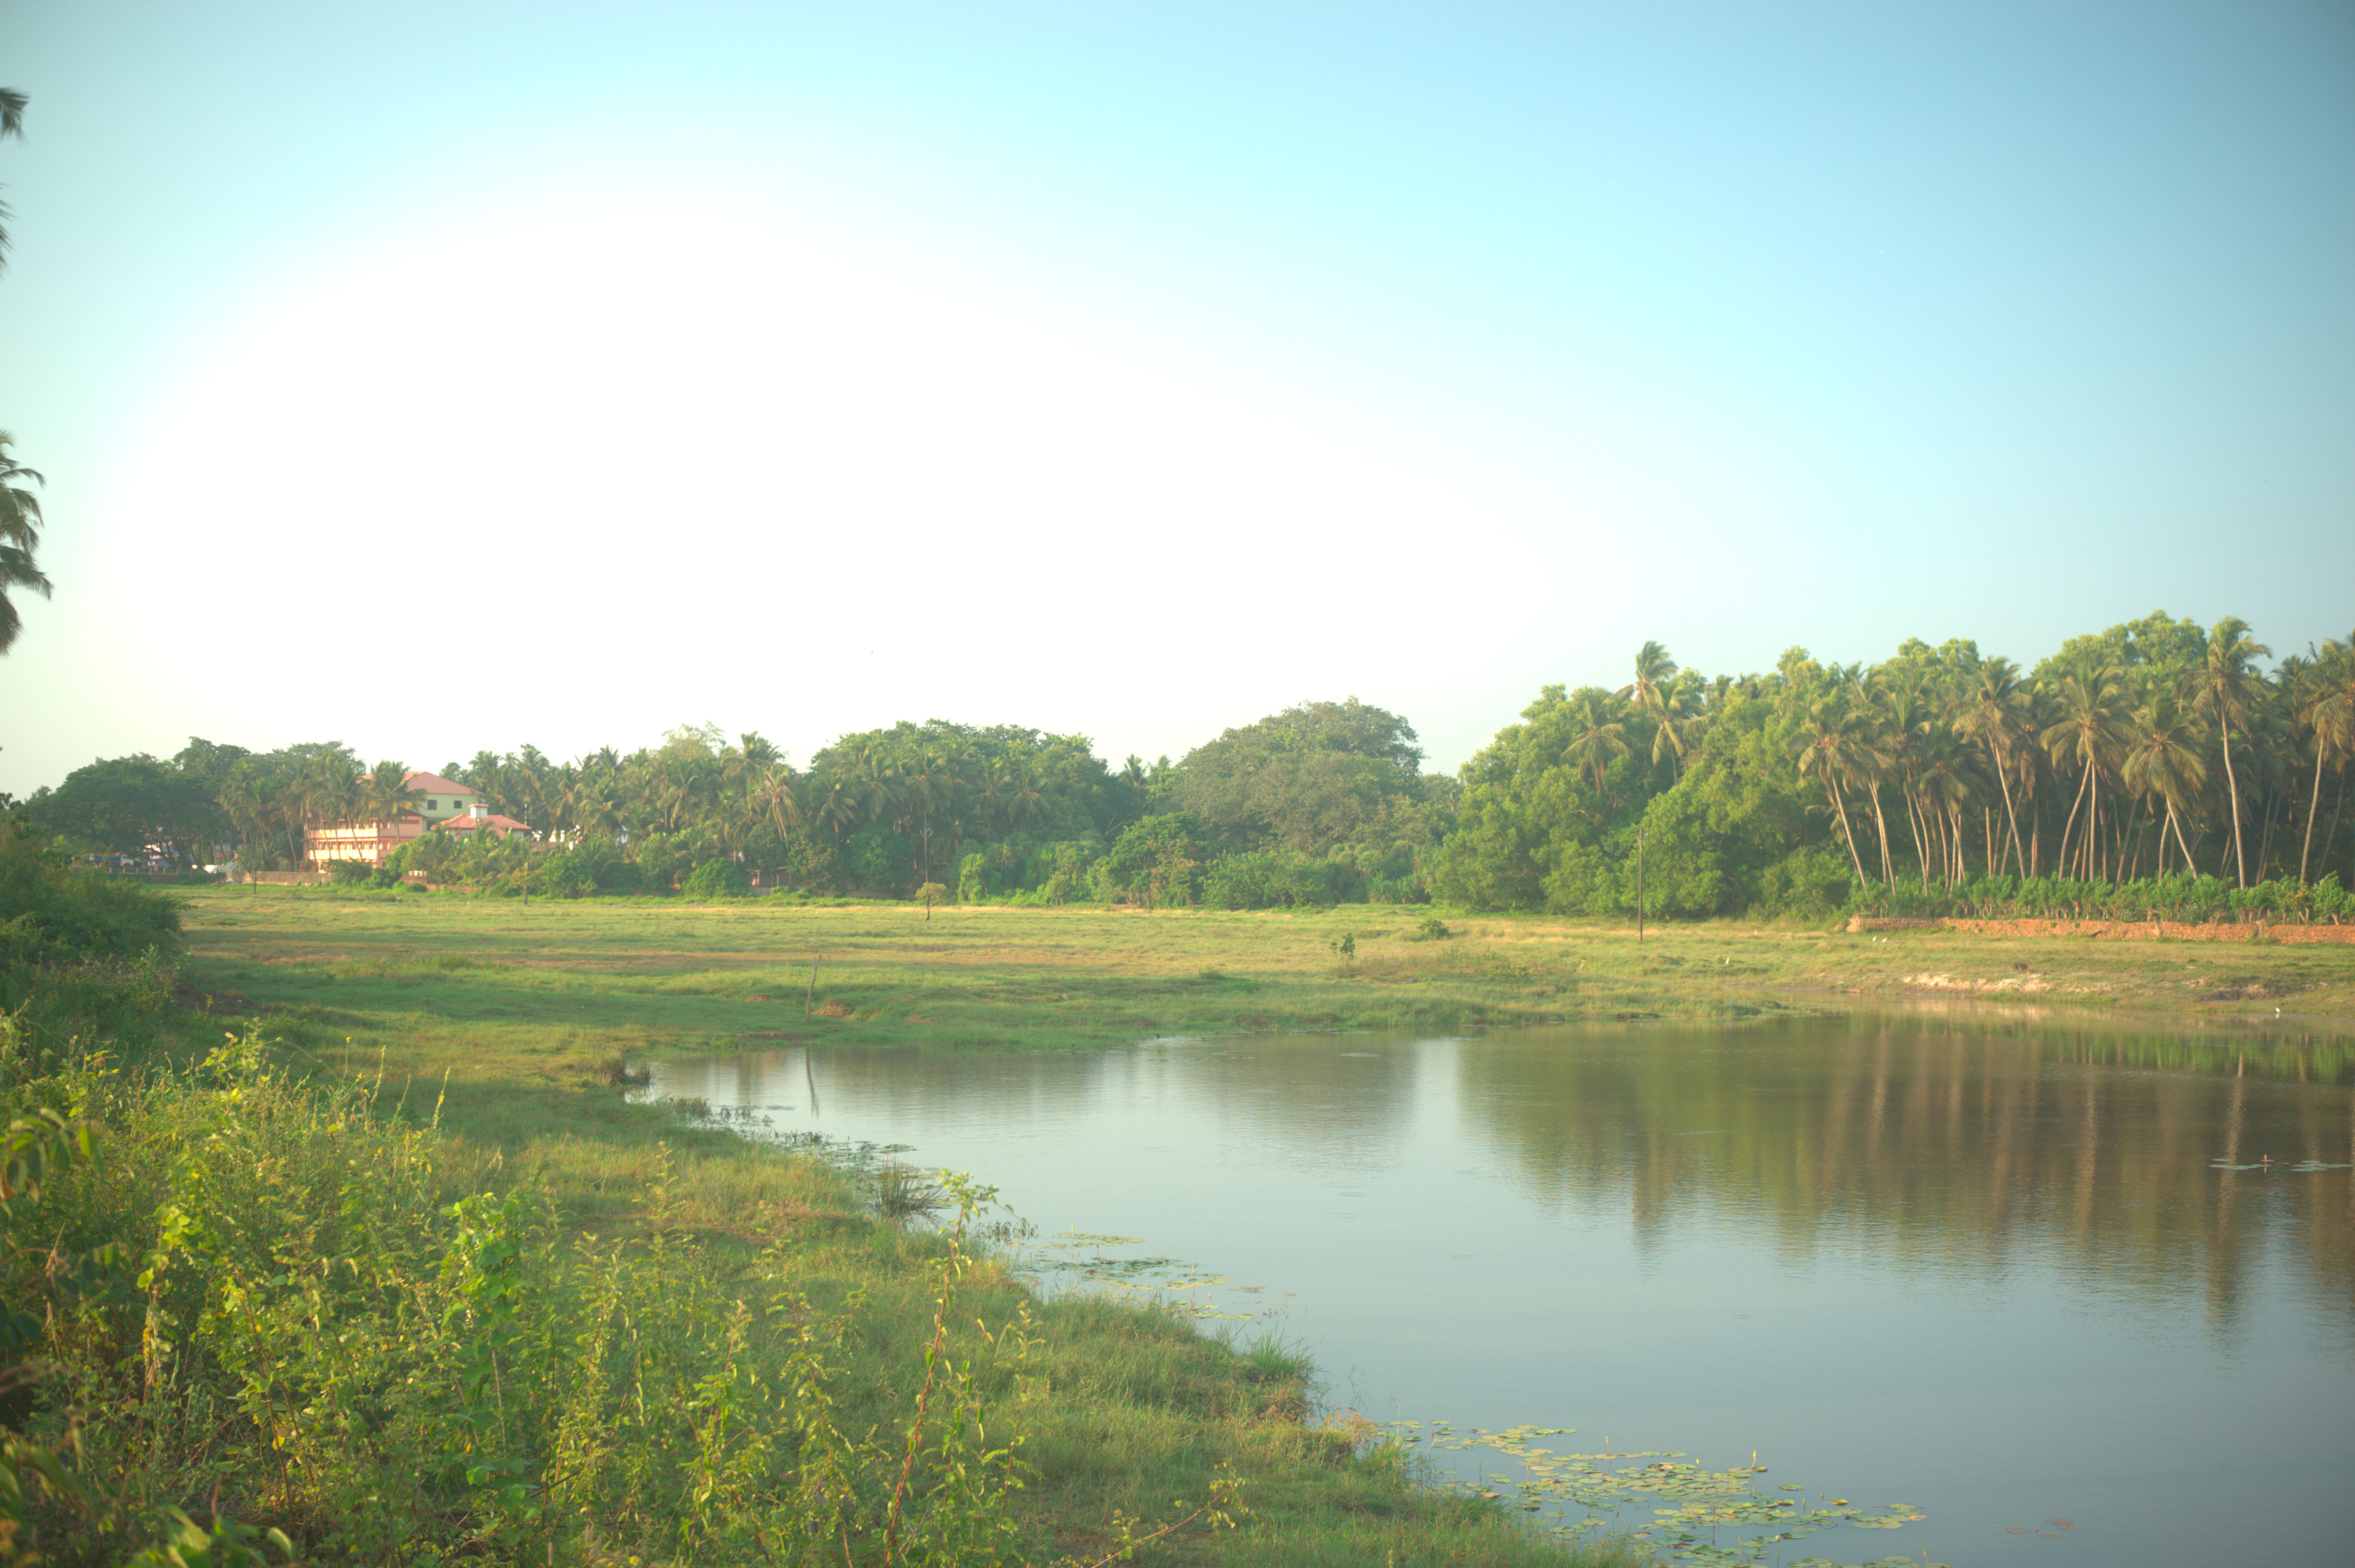
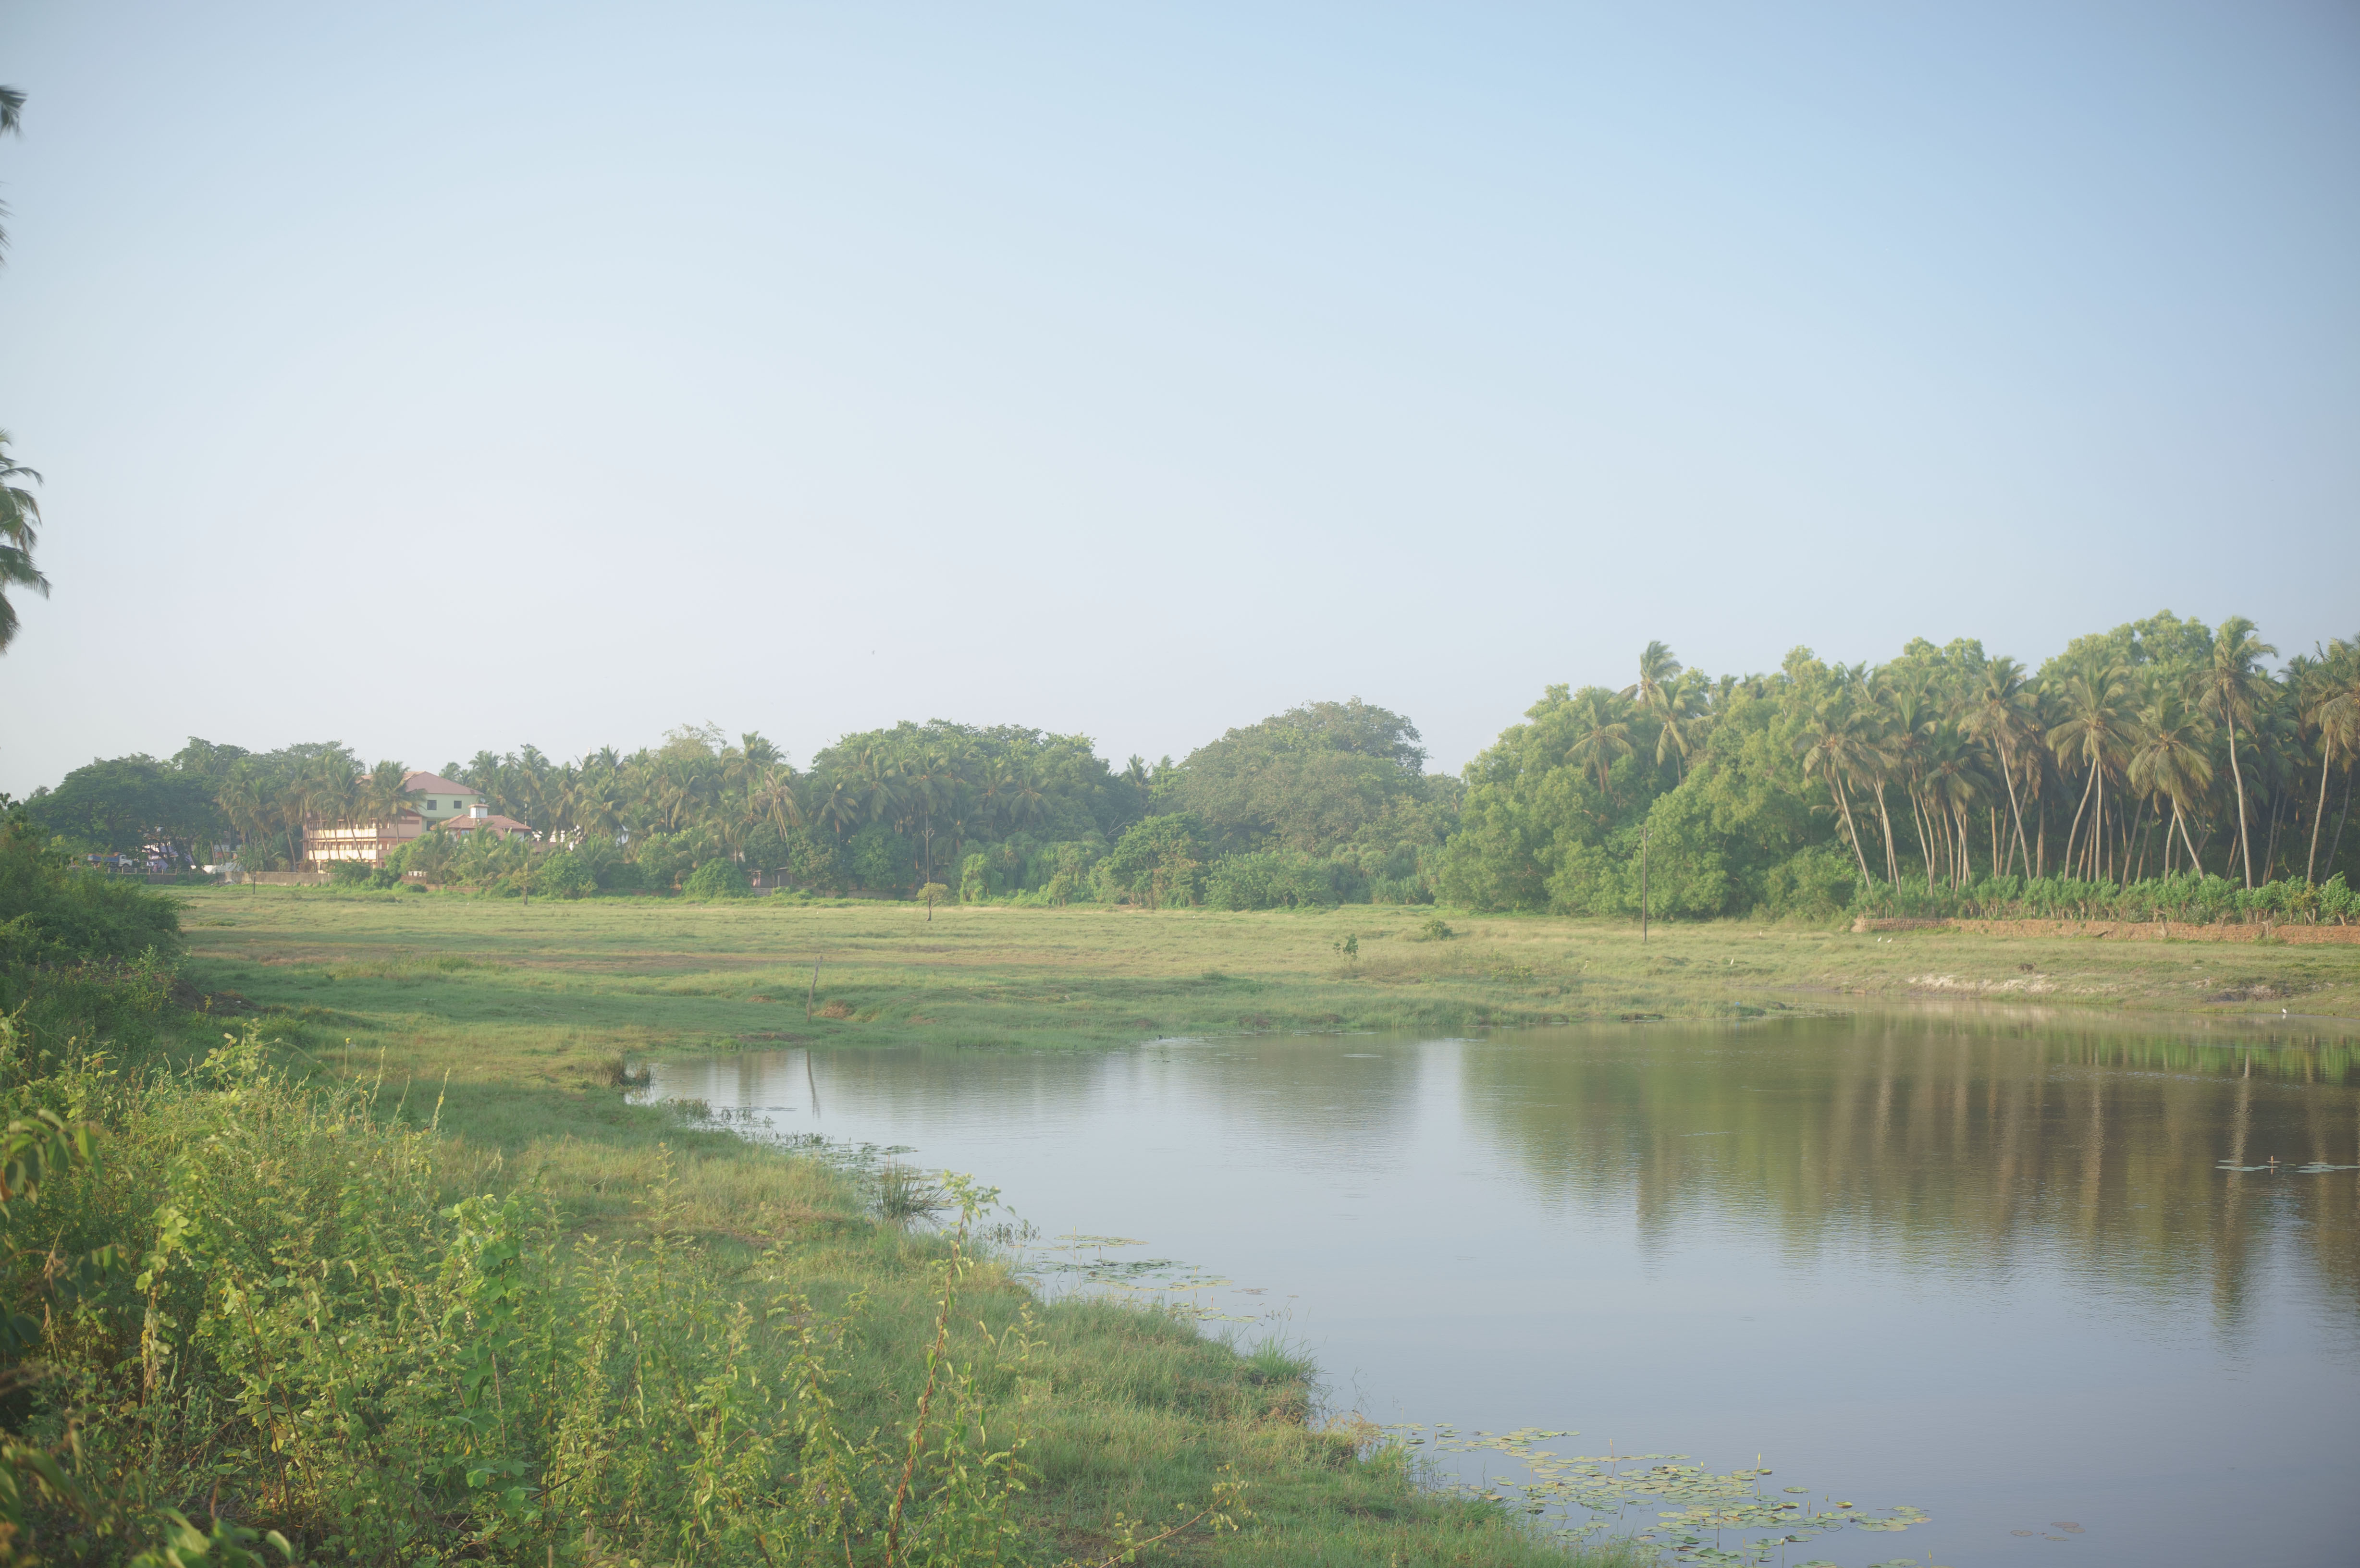
Submitted by PhotoMan on
Forums:
Hello, i have followed the article "Deriving Hidden Baseline Exposure Compensation Applied by a Raw Converter" closely and my baseline exposure is 0.35 on all ISO levels (found using DNG method).
I have applied settings in ACR and its same as in article
Exposure = -1.35
Contrast = -33
Black = +25
Custom Curve
I tried both profiles Camera Standard and Adobe Default, still not looking same.
My final result brightness looks similar however on the sky its more gradient, does not show exposure area and the green color is not saturated as RawDigger exported TIFF (RGB).
Uploaded RAW here in case you like to try yourself https://www.upload.ee/files/15176791/_DSC0011.zip.html
Image:


Dear Sir:
Submitted by LibRaw on
Dear Sir:
The raw file is heavily clipped, as the histogram in RawDigger shows. ACR may attempt to reconstruct the clipped regions.
> does not show exposure area
Unclear what you mean.
> the green color is not saturated as RawDigger exported TIFF (RGB)
Possibly, different white balance, and RawDigger isn't a raw converter, it uses simple matrix colour transforms.
Perhaps was white balance
Submitted by PhotoMan on
Perhaps was white balance issue as RawDigger defaults to Daylight white balance.
>> the green color is not saturated as RawDigger exported TIFF (RGB)
> Possibly, different white balance, and RawDigger isn't a raw converter, it uses simple matrix colour transforms.
From what i understood RawDigger shows raw as it really looks, TIFF i exported from RawDigger looks exactly same as preview i've seen on the RawDigger interface.
> The raw file is heavily clipped, as the histogram in RawDigger shows. ACR may attempt to reconstruct the clipped regions.
I see ACR is trying to optimize clipped regions, did not know it has this functionality.
Here i uploaded not overexposed version of same photo https://www.upload.ee/files/15177135/_DSC0010.zip.html
Tiff from Raw Digger - https://i.postimg.cc/JMNPhrCm/Raw-Digger-Tiff-RGB.jpg
using this settings:
Default Display Mode - RGB render
RGB render White Balance - As Shot
Camera color profile - Embedded in RAW
RGB rendering color space - sRGB
ACR after applying Baseline Exposure fix - https://i.postimg.cc/XVVhWZrT/ACR-with-Baseline-Exposure-compensation.jpg
looks closer now except sky is not as blue.
Could you try at your end i wonder what results you get, perhaps i am missing something.
> From what i understood
Submitted by lexa on
> From what i understood RawDigger shows raw as it really looks
To view RAW 'as it really looks': switch from RGB rendering mode to RAW Composite or RAW channels.
Followup: for more reality:
Submitted by lexa on
Followup: for more reality: turn off these settings in Preferences - Display options - Raw display options:
> To view RAW 'as it really
Submitted by PhotoMan on
> To view RAW 'as it really looks': switch from RGB rendering mode to RAW Composite or RAW channels.
In RAW Composite it all becomes green.
This is how real RAW data
Submitted by lexa on
This is how real RAW data really looks like
Why camera manufacturers even
Submitted by PhotoMan on
Why camera manufacturers even use Baseline Exposure?
Camera manufacturers use the
Submitted by lexa on
Camera manufacturers use the ISO 12232 standard, which does not describe RAW data in any way (this is explicitly stated in the latest editions of the standard), but only describes rendering to JPEGs.
So, Baseline Exposure is the simplest way to describe difference between camera rendered JPEG and linear raw data at specific camera settings (ISO, DR expansion, etc)
It cannot be said that camera manufacturers use this parameter.
I understand Photoshop does
Submitted by PhotoMan on
I understand Photoshop does some magic trying to fix overexposed, but here is version saved from Photoshop with fix from "Deriving Hidden Baseline Exposure Compensation Applied by a Raw Converter" applied.
Photoshop https://i.postimg.cc/c0XJRBLQ/DSC0118.jpg
And here is raw digger version https://i.postimg.cc/8DvKfZw0/DSC0118-RGB.jpg
Raw Digger reports huge area of image overexposed which is not true? If its really that huge area overexposed, how is Photoshop able to recover it?
https://i.postimg.cc/RvdbVqGC/DSC0118-20230529-021901-Raw-Digger-Screen-...
Uploaded RAW here https://www.upload.ee/files/15280399/_DSC0118.zip.html
Adobe's highlight recovery
Submitted by lexa on
Adobe's highlight recovery works very well if only one channel is over-exposed and overexposed area is near-neutral in color. In this case, we are dealing with just such an example: near-neutral cloud and only one (green) channel is overexposed: https://www.dropbox.com/s/7hu0dqlo8okoedv/Screenshot%202023-05-29%2009.4...
Add new comment